The four stages of a contract
A contract isn't a single moment — it's a lifecycle. Signit supports all of it in one place, so a document doesn't fall through the cracks between drafting, signing, and everything after. Each stage below links to a step-by-step guide.
Stage 1 — Create
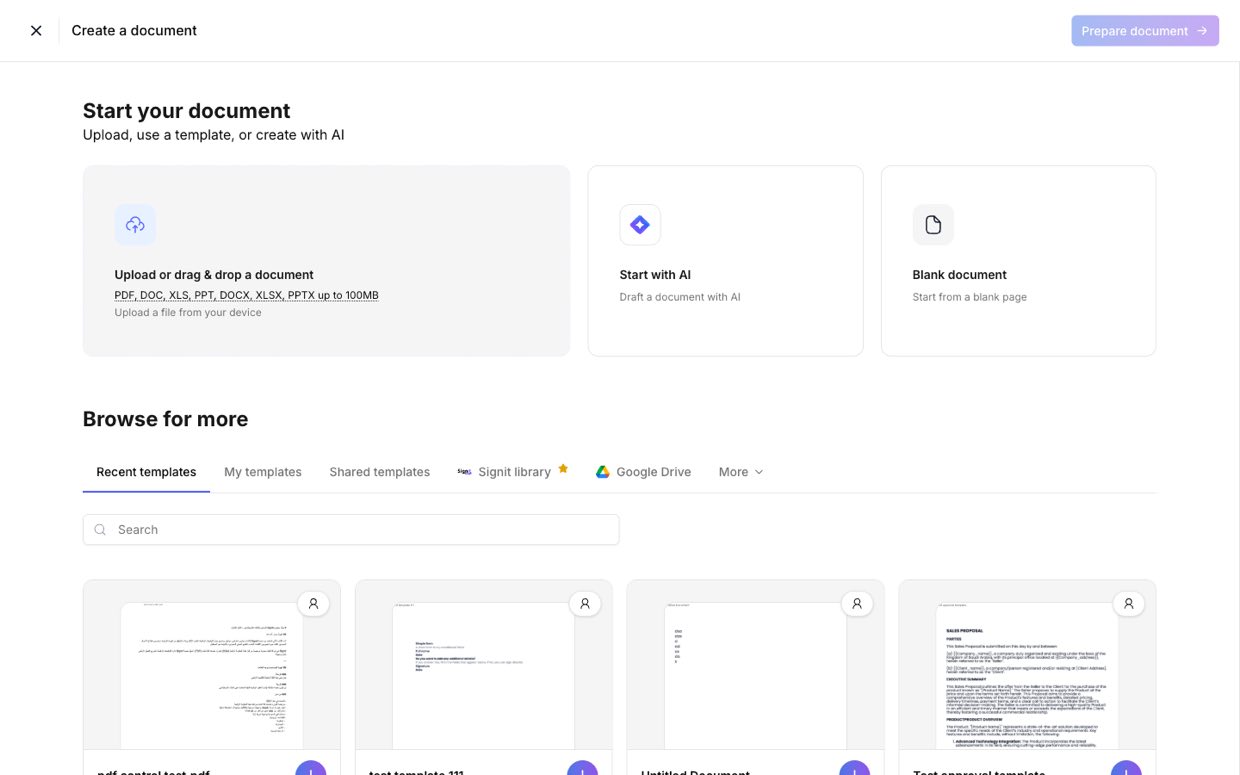
CreateStart from a blank page, upload a file, draft with AI, or pick a template. Add participants and place the fields each signer needs. See Create your first signature request and Create your first template.
Stage 2 — Collaborate & approve
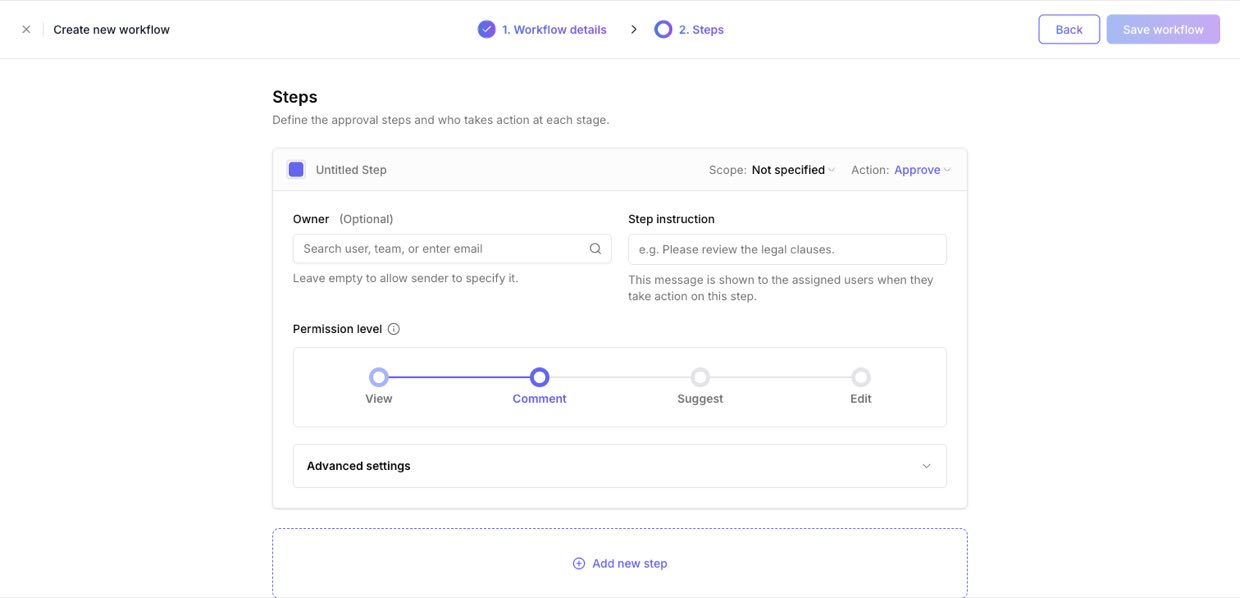
ApproveBring colleagues in: assign tasks to review or edit, and route the document through an approval workflow so the right people sign off, in the right order, before it goes out. See Assign your first task and Set up an approval workflow.
Stage 3 — Sign
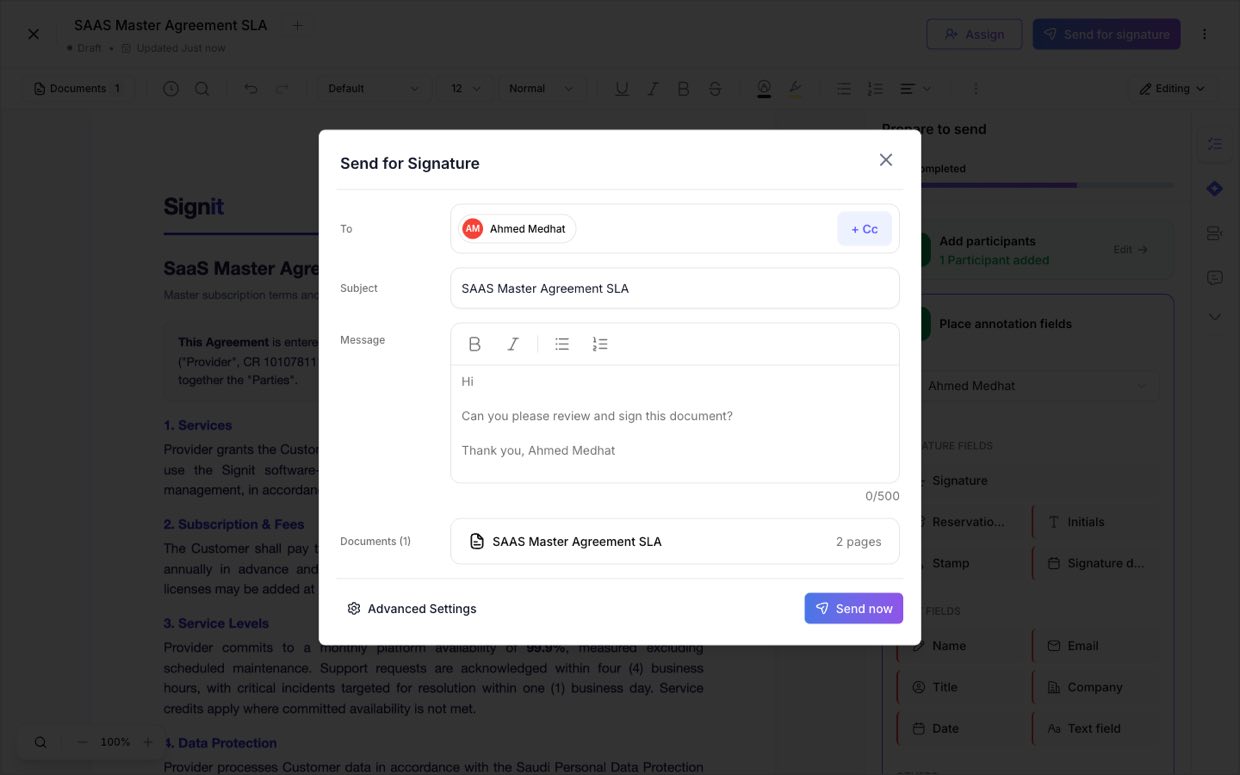
SignSend for signature. Signit notifies each participant, collects signatures in the defined order, and produces a legally binding document with a complete audit trail.
Stage 4 — Manage
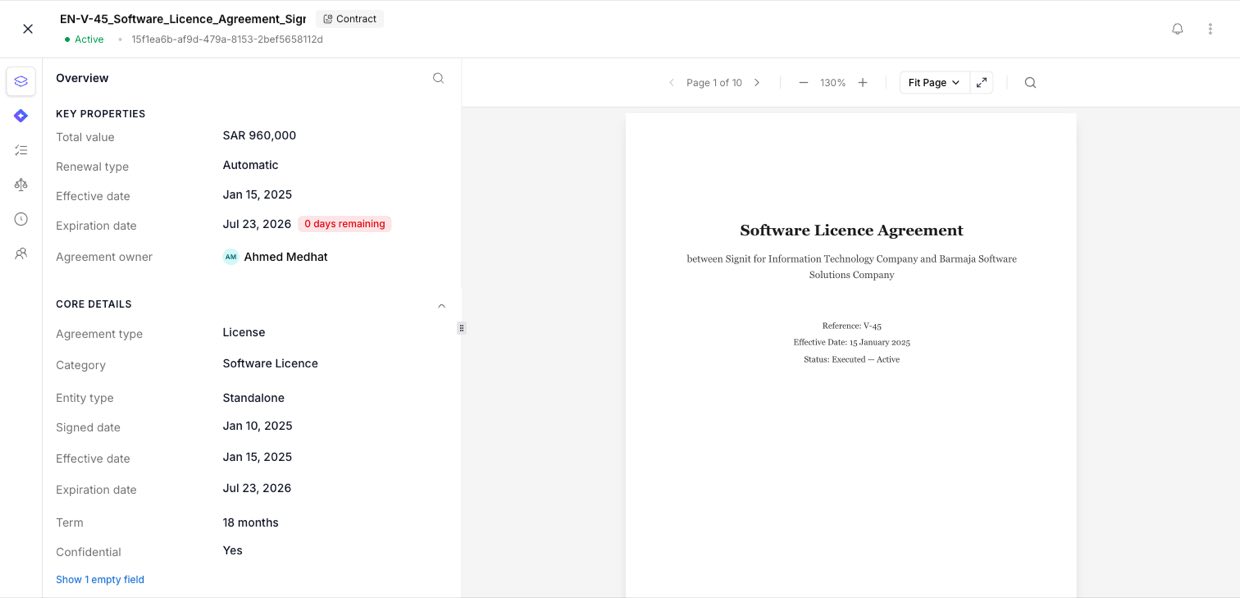
ManageOnce executed, the contract lands in the Agreement vault, where Signit tracks its value, renewal dates, parties, and obligations — so the work continues long after signing. See Manage your contracts in the vault.
Need help?
Want a hand mapping your process onto Signit? Contact the support team.
Signit support team
Reach out any time — or contact your dedicated account manager.
Was this article helpful?