Overview
Your account settings live under Settings (bottom-left) → My account for your own profile and security, and Organization settings for the people on your plan. This guide covers the four things worth getting right early: your profile, your users, your sign-in security, and how to react if something looks off.
1. Update your profile
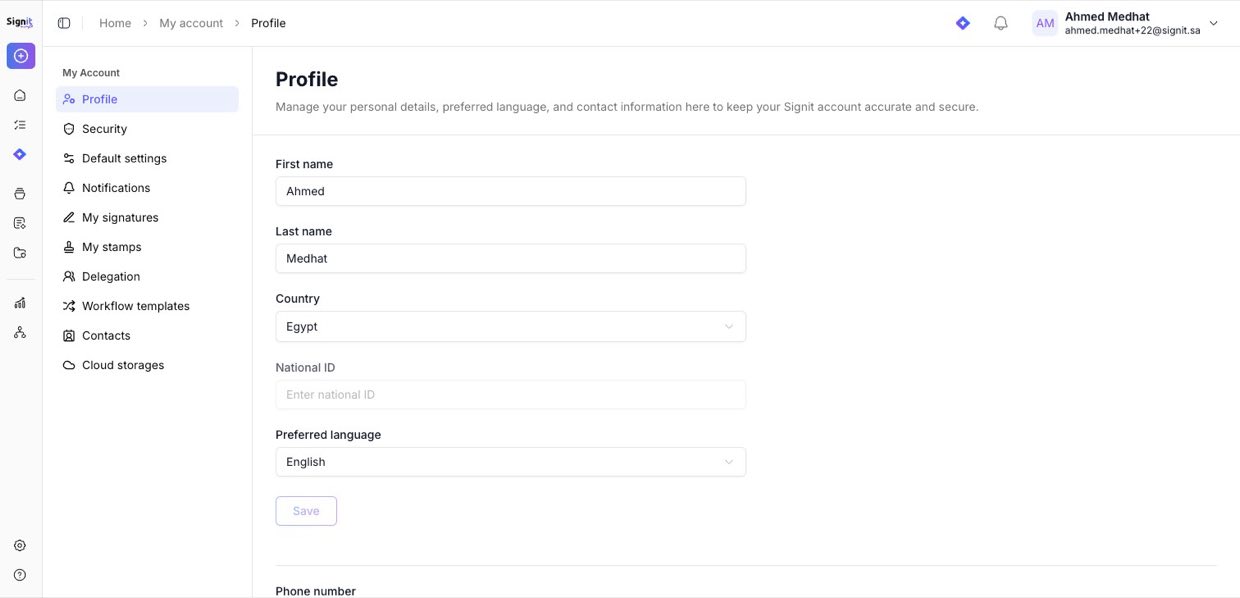
My account → ProfileGo to Settings → My account → Profile to keep your details current. You can edit your first and last name, country, National ID, and preferred language — then click Save. Your preferred language sets the language of the notification emails you receive, so it's worth setting correctly. Your updates sync across your documents and communications.
2. Manage users in your organization
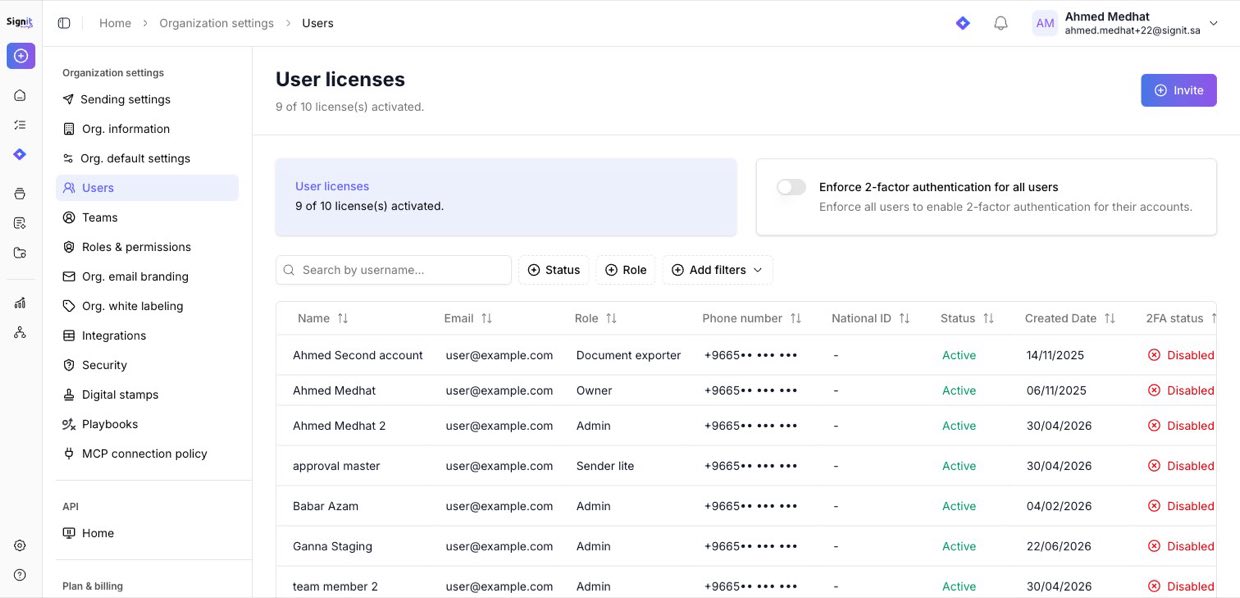
Organization settings → UsersAdmins and the account owner manage the team under Settings → Organization settings → Users. From here you can:
- Invite a new user — enter their details and assign a role; they get an email to activate their account. (See Invite your team for the full walkthrough.)
- See each person's role (Owner, Admin, Sender, and more), status, and 2FA status at a glance.
- Deactivate a user from their row's menu when they leave — this frees up a license while preserving their documents.
- Turn on Enforce 2-factor authentication for all users to require every member to secure their account.
Rather than sharing one login, always add people as their own users and assign roles — it's more secure and keeps the audit trail meaningful.
3. Strengthen your sign-in
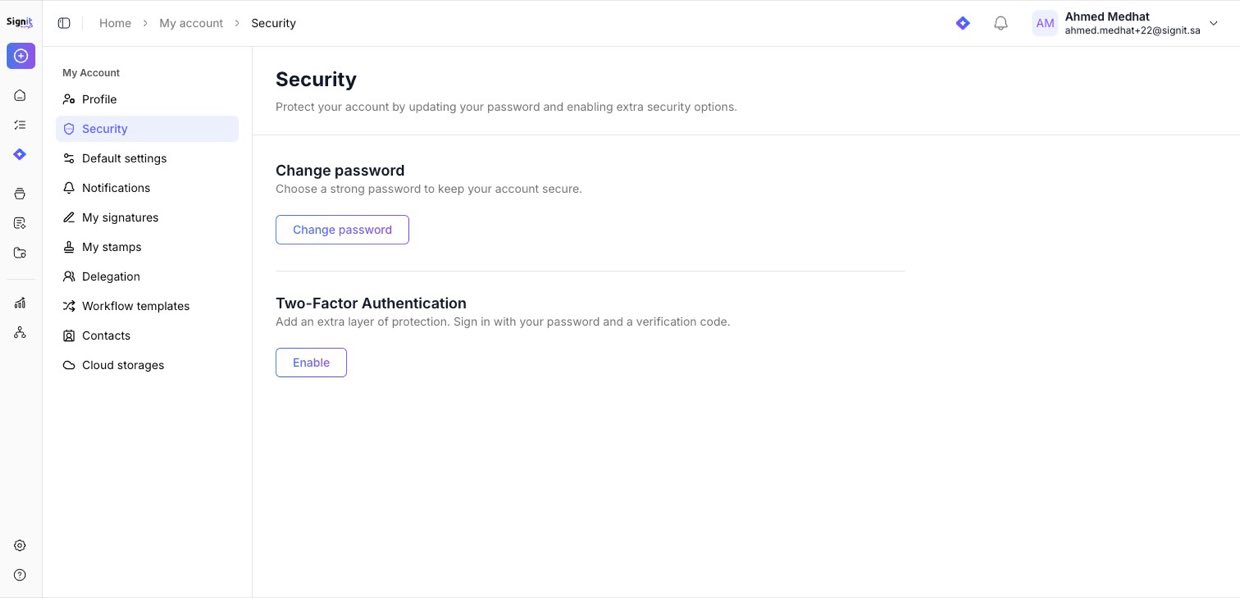
My account → SecurityUnder Settings → My account → Security you control how you sign in:
- Change password — set a strong, unique password whenever you need to.
- Two-factor authentication (2FA) — click Enable, scan the QR code with an authenticator app (such as Google Authenticator), and confirm. After that, signing in needs both your password and a one-time code.
2FA is the single most effective step you can take to protect your account — turn it on even if it isn't enforced for your organization.
4. Spot and handle suspicious activity
If something looks offSignit emails you when there's a sign-in from an unrecognized device. If you get one you don't recognize:
- Change your password straight away.
- Enable 2FA if it isn't already on (or reset it if you think it's compromised).
- Make sure the email address on your account is itself secured with a strong password.
- Contact support@signit.sa with the details so the team can investigate.
Security best practices
Use a strong password — mix upper- and lower-case letters, numbers, and symbols; avoid names and birthdays.
Enable two-factor authentication (2FA) on your account.
Keep the email address tied to your account secure with its own strong password.
Never share login credentials — add people as users and assign roles instead.
Log out on shared or public devices.
Keep your browser and devices updated to reduce vulnerabilities.
Need help?
Questions about roles, licenses, or securing your account? The Signit support team can help.
Signit support team
Reach out for help — or contact your dedicated account manager for urgent issues.
Was this article helpful?