Where the panels live
Open any document and you'll see a tabbed panel down the right side of the editor. The first tabs — Prepare to send, AI assistant, Placeholders, Comments — are always visible; click Show more tabs (or the icon rail on the far right) to reveal Participants, Fields, Tasks, Properties, and Workflow. Each panel is covered below.
1. Prepare to send
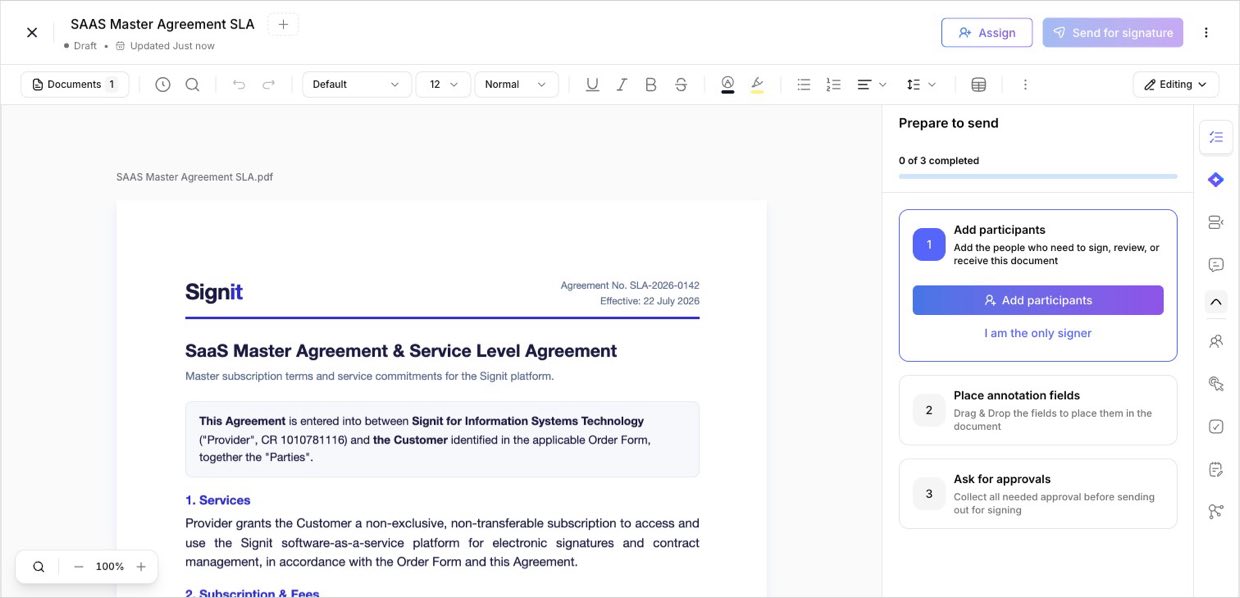
Your launchpadA guided checklist that walks you through everything a document needs before it goes out: add participants, place annotation fields, and ask for approvals. A progress bar shows how far along you are — it's the panel you'll start and finish in.
2. AI assistant
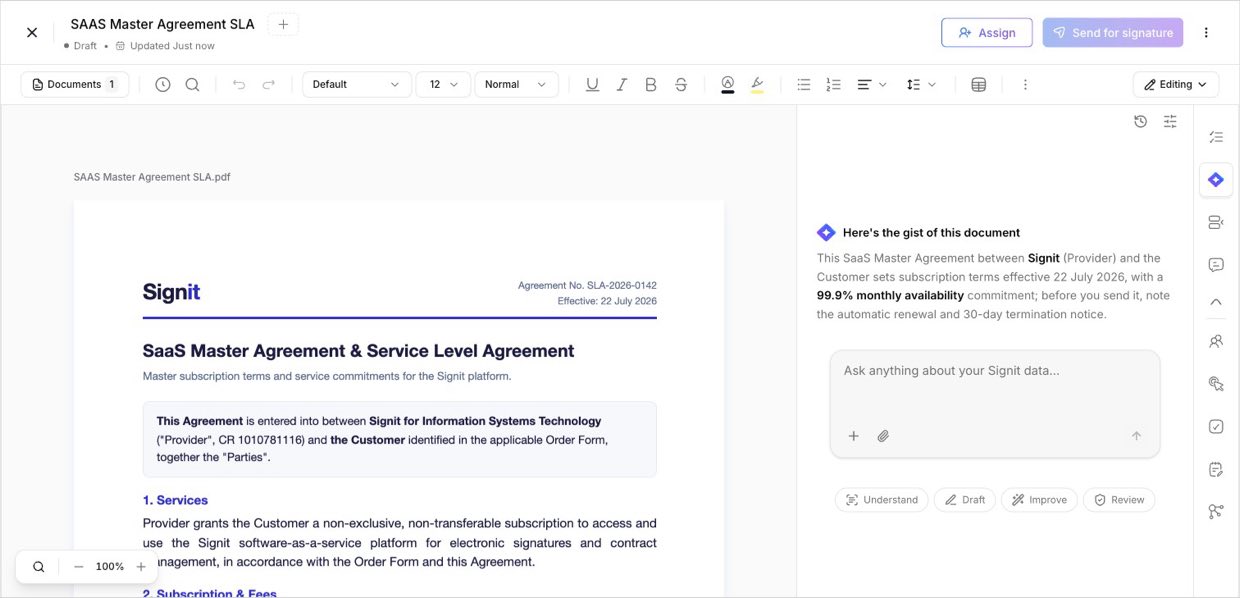
Understand & draftAn AI copilot for the open document. It gives you “the gist” — an instant summary of the key terms — and lets you ask anything about it. Quick actions — Understand, Draft, Improve, Review — help you summarize, generate wording, tighten language, or run a review, all without leaving the editor.
3. Placeholders
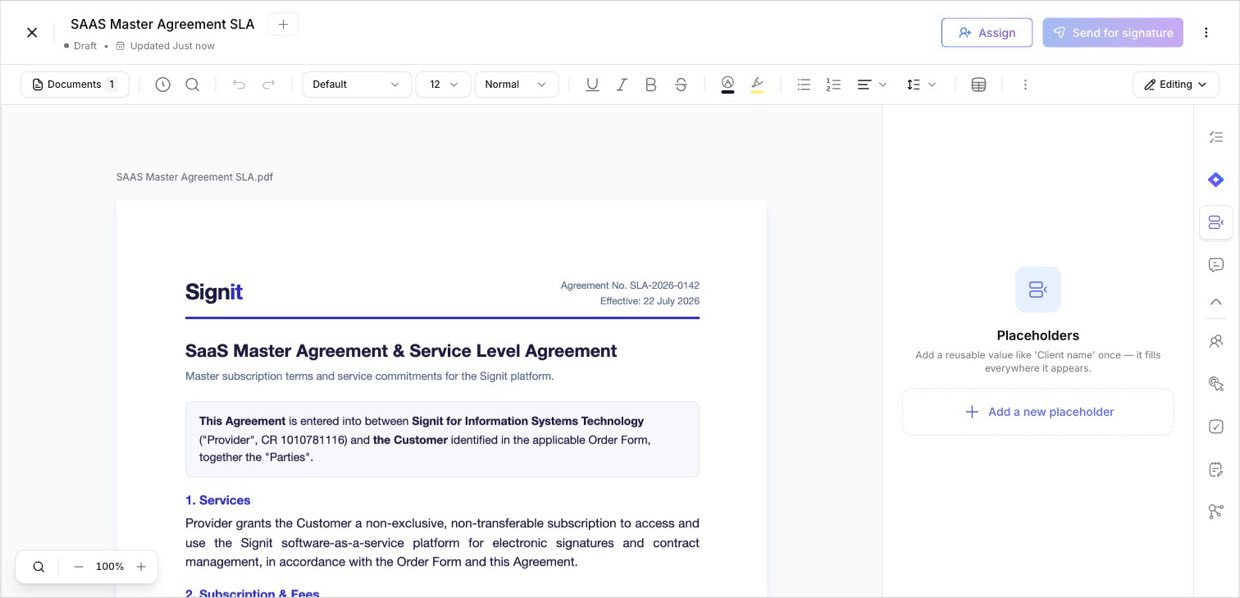
Reusable valuesDefine a value once — like Client name or Effective date — and it fills in everywhere it appears in the document. Change it in one place and every instance updates. Perfect for agreements that repeat the same details many times.
4. Comments
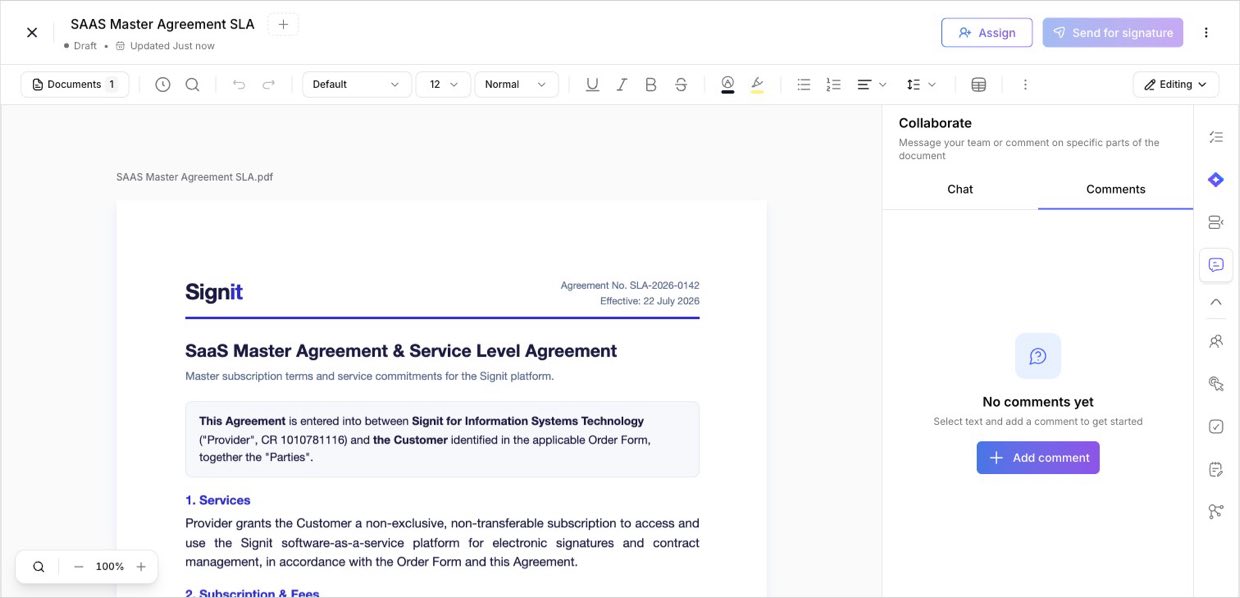
CollaborateThe collaboration hub, with two modes: Chat to message your team about the document, and Comments to attach notes to specific parts of the text. Select any passage, add a comment, and resolve it once it's handled — reviews happen in place instead of over email.
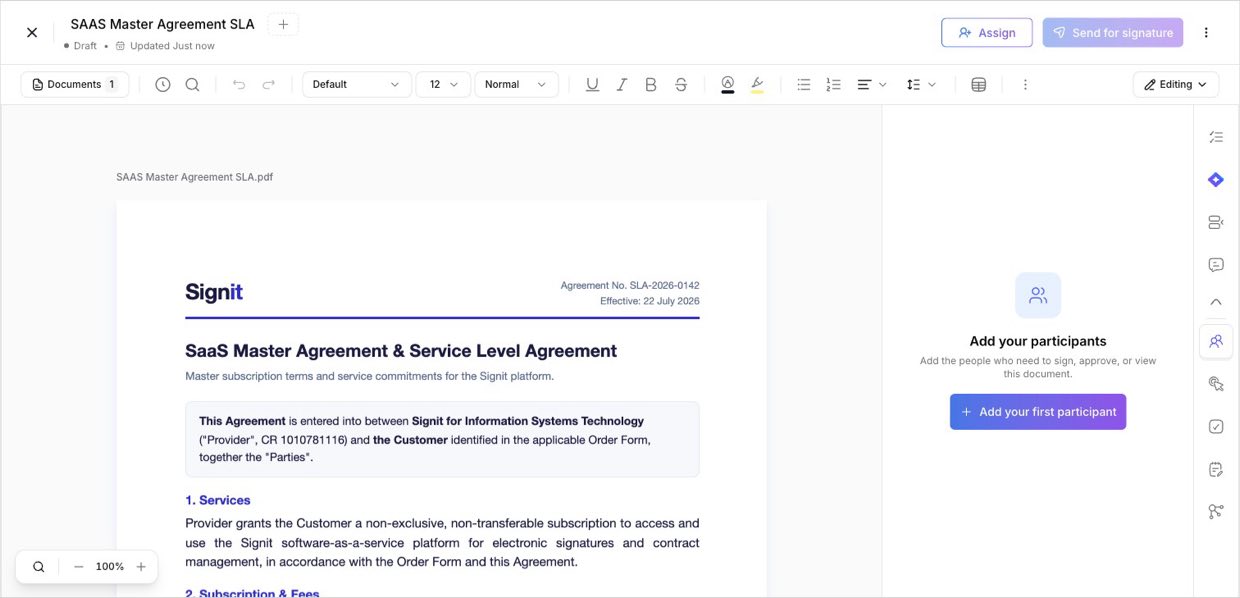
5. Participants
Who's involvedThe list of everyone on the document — signers, approvers, and viewers — with their roles and details. Add, edit, or remove people here at any time before sending. (For what each role can do, see Prepare a document in the editor.)
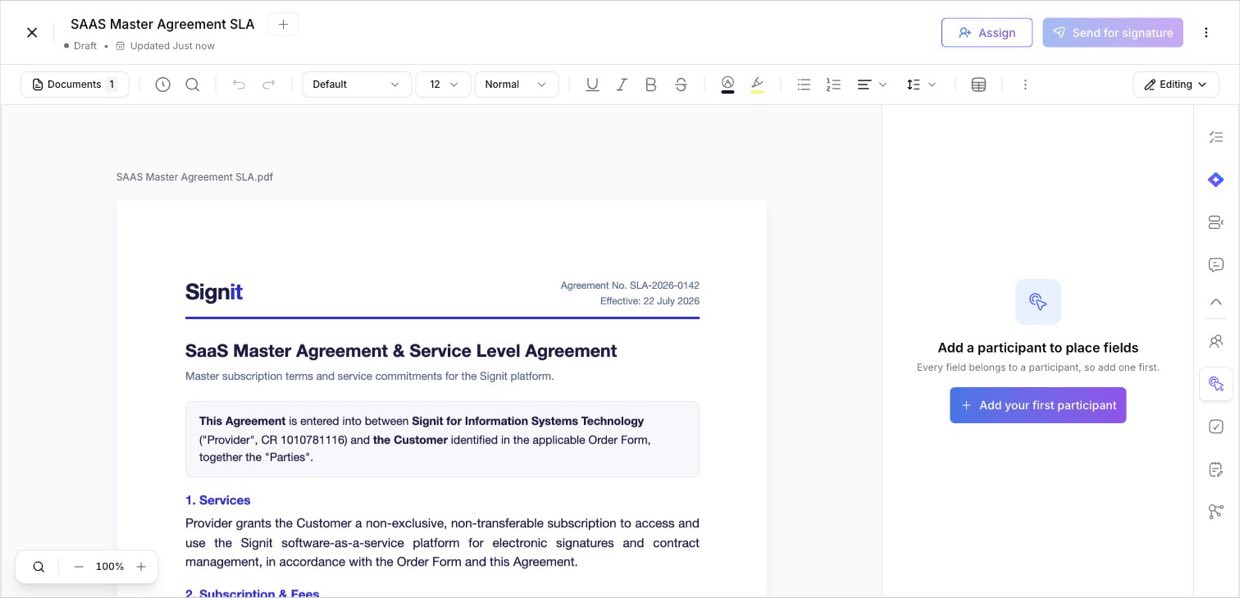
6. Fields
Place & manage fieldsThe dedicated home for annotation fields — signatures, text, checkboxes, and more — organized by the participant they belong to. It's the same field placement covered in Prepare a document, available as its own panel so you can manage every field in one place.
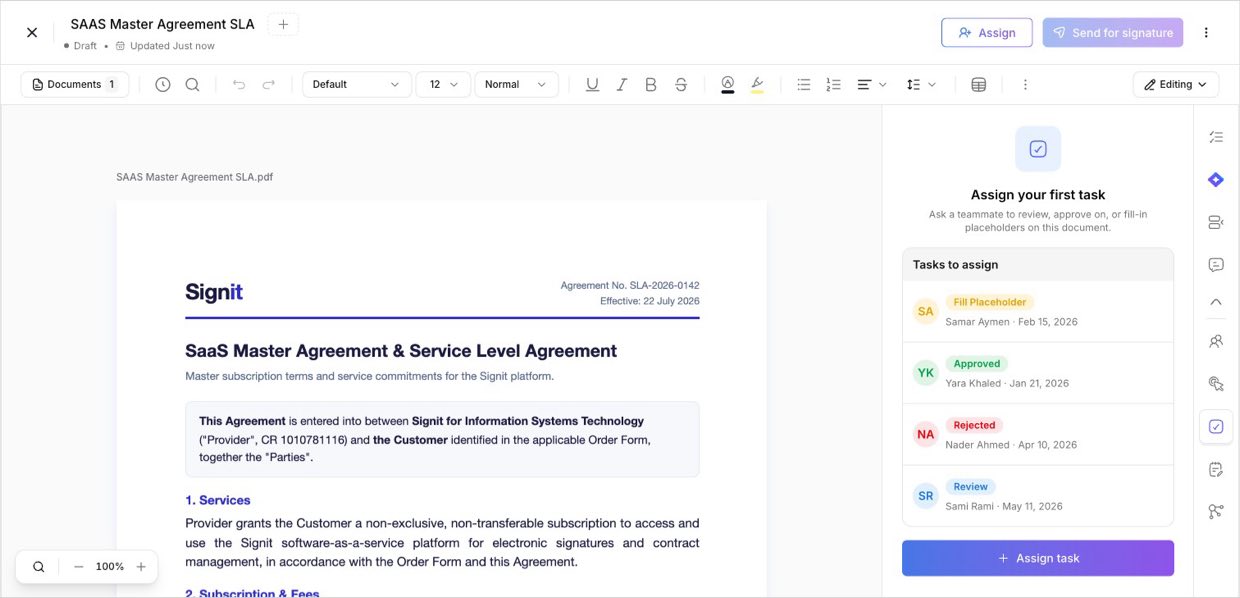
7. Tasks
Delegate workAssign a teammate to review, approve, or fill in placeholders on the document before it's sent — without handing over the whole request. Track what you've asked for right here. (See Assign your first task.)
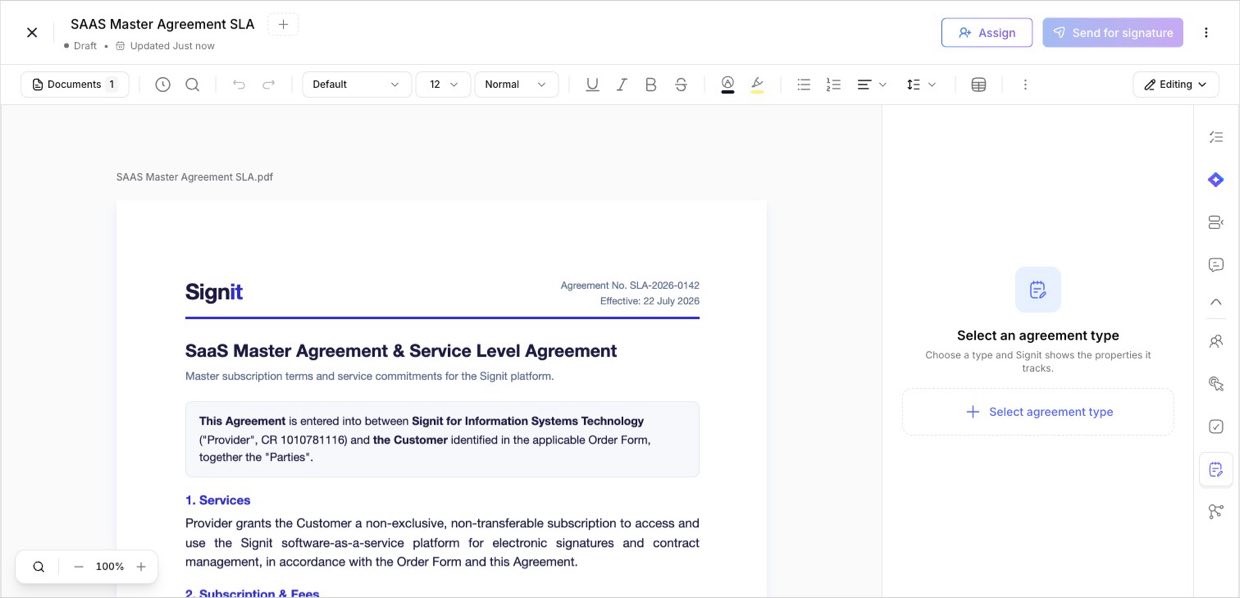
8. Properties
Agreement metadataClassify the document by agreement type, and Signit shows the properties it tracks for that type — the metadata that powers the contract vault later (dates, renewals, obligations). This is where a signature request becomes a managed contract. (See Manage your contracts in the vault.)
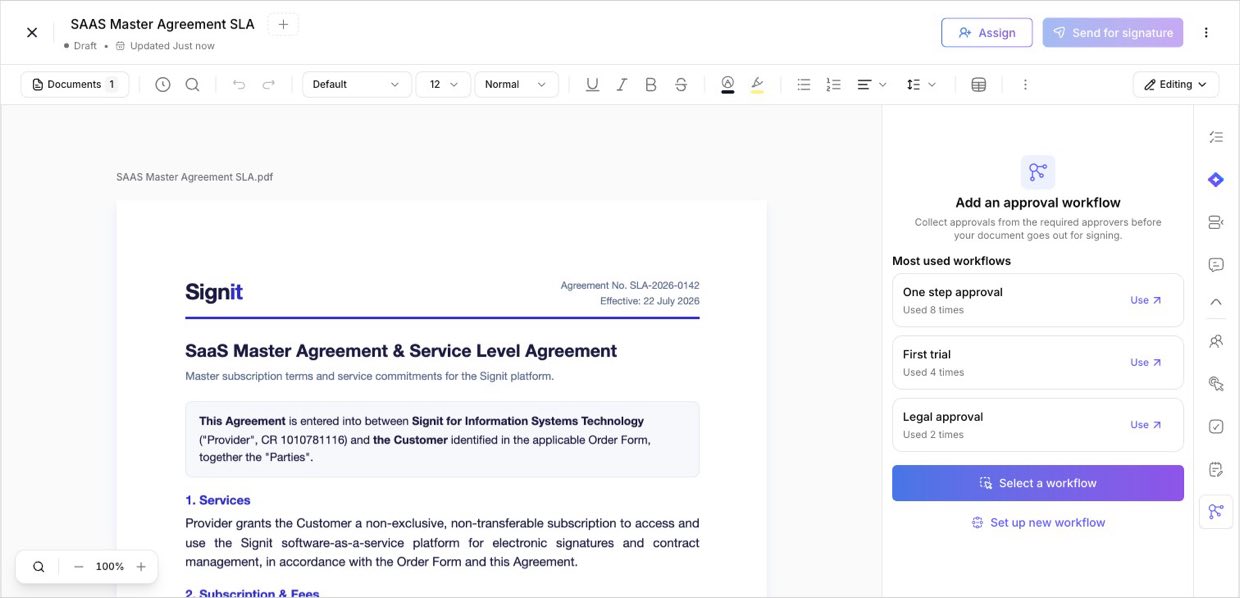
9. Workflow
Approvals before sendingAttach an approval workflow so the right people sign off before the document goes out for signing. Pick from your most-used workflows in one click, or build a new one. (See Set up an approval workflow.)
Good to know
The panels share the editor with your document — nothing opens in a new window, so you never lose your place.
The same icon rail on the far right jumps straight to any panel.
Panels like Participants, Fields, and Workflow mirror steps in the Prepare-to-send checklist — use whichever entry point you prefer.
Need help?
Want a tour of the editor panels? The Signit support team is happy to help.
Signit support team
Reach out for help — or contact your dedicated account manager for urgent issues.
Was this article helpful?